May 1, 2026
A soaked baseboard, a stained ceiling, a floor that suddenly feels soft underfoot – this is the moment when people realize they need to move fast. If you are figuring out how to document water damage, the goal is simple: create a clear record before cleanup changes the scene, while also protecting your home from further loss.
Good documentation does two jobs at once. It helps support an insurance claim, and it gives restoration crews a more complete picture of what happened. In a place like Southwest Florida, where storm-driven flooding, plumbing failures, and humidity-related damage can escalate quickly, that paper trail matters more than most homeowners expect.
How to document water damage without missing key proof
Start with safety before you touch your phone. If water is near outlets, appliances, or your breaker panel, stay out of the area until it is safe. If the source is an active leak, shut off the water if you can do it safely. Documentation is important, but not at the cost of injury.
Once the area is safe, begin with wide photos of every affected room. Stand in the doorway and capture the full scene. Then move closer and photograph the specific damage – warped flooring, bubbling paint, dark ceiling stains, damaged cabinets, wet furniture, and personal belongings. Take photos from multiple angles so there is no question about the extent of the problem.
Video helps too. A slow walk-through with commentary can show active dripping, standing water, swelling materials, or the sound of water running behind a wall. Keep it steady and narrate what you are seeing, the date, and where you are in the house. That kind of detail can be useful later if damage spreads or materials are removed.
Do not stop at what looks obvious. Water travels. A leak from an upstairs bathroom may show up in a downstairs ceiling, behind trim, or beneath flooring before the full damage is visible. Photograph connecting spaces, nearby walls, closets, adjacent rooms, and anything below the source area.
Record the source, timeline, and conditions
Photos alone are not enough. Write down what happened as soon as you can. Note when you first noticed the issue, what you observed, and whether the water was clean, gray, or contaminated. If the cause appears to be a burst supply line, overflowing appliance, roof leak, or storm intrusion, include that in your notes.
The timeline matters because insurance carriers often ask when the damage started, when you discovered it, and what steps you took to reduce further damage. If you found water at 6:30 a.m., shut off the main line at 6:40, and called for emergency mitigation at 7:00, document that. Clear timing shows that you acted promptly.
Also note weather conditions when relevant. After heavy rain or a storm, it helps to record that fact, especially if the damage may involve roof leaks, window intrusion, or flooding. If multiple areas were affected at once, say so plainly.
A simple note on your phone is fine. What matters is accuracy. Do not guess if you are unsure. If you do not know exactly when a leak began, say when you first discovered it and what condition the area was in at that time.
Save damaged items and create an inventory
One of the most common mistakes homeowners make is throwing things away too early. If it is safe and sanitary, keep damaged materials and belongings until they have been documented and your insurance carrier or restoration team has had a chance to review them. That includes sections of carpet, damaged drywall, swollen wood trim, ruined boxes, and affected furniture.
Create a room-by-room inventory of damaged items. Include a short description, estimated age, and what happened to each item. For example: “Guest bedroom – area rug, saturated from ceiling leak, discoloration and odor present.” If you still have receipts, product manuals, photos from before the loss, or credit card records, save those too.
This does not need to be perfect to be useful. A clear, honest inventory is far better than trying to recreate everything from memory two weeks later.
Keep every receipt tied to the loss
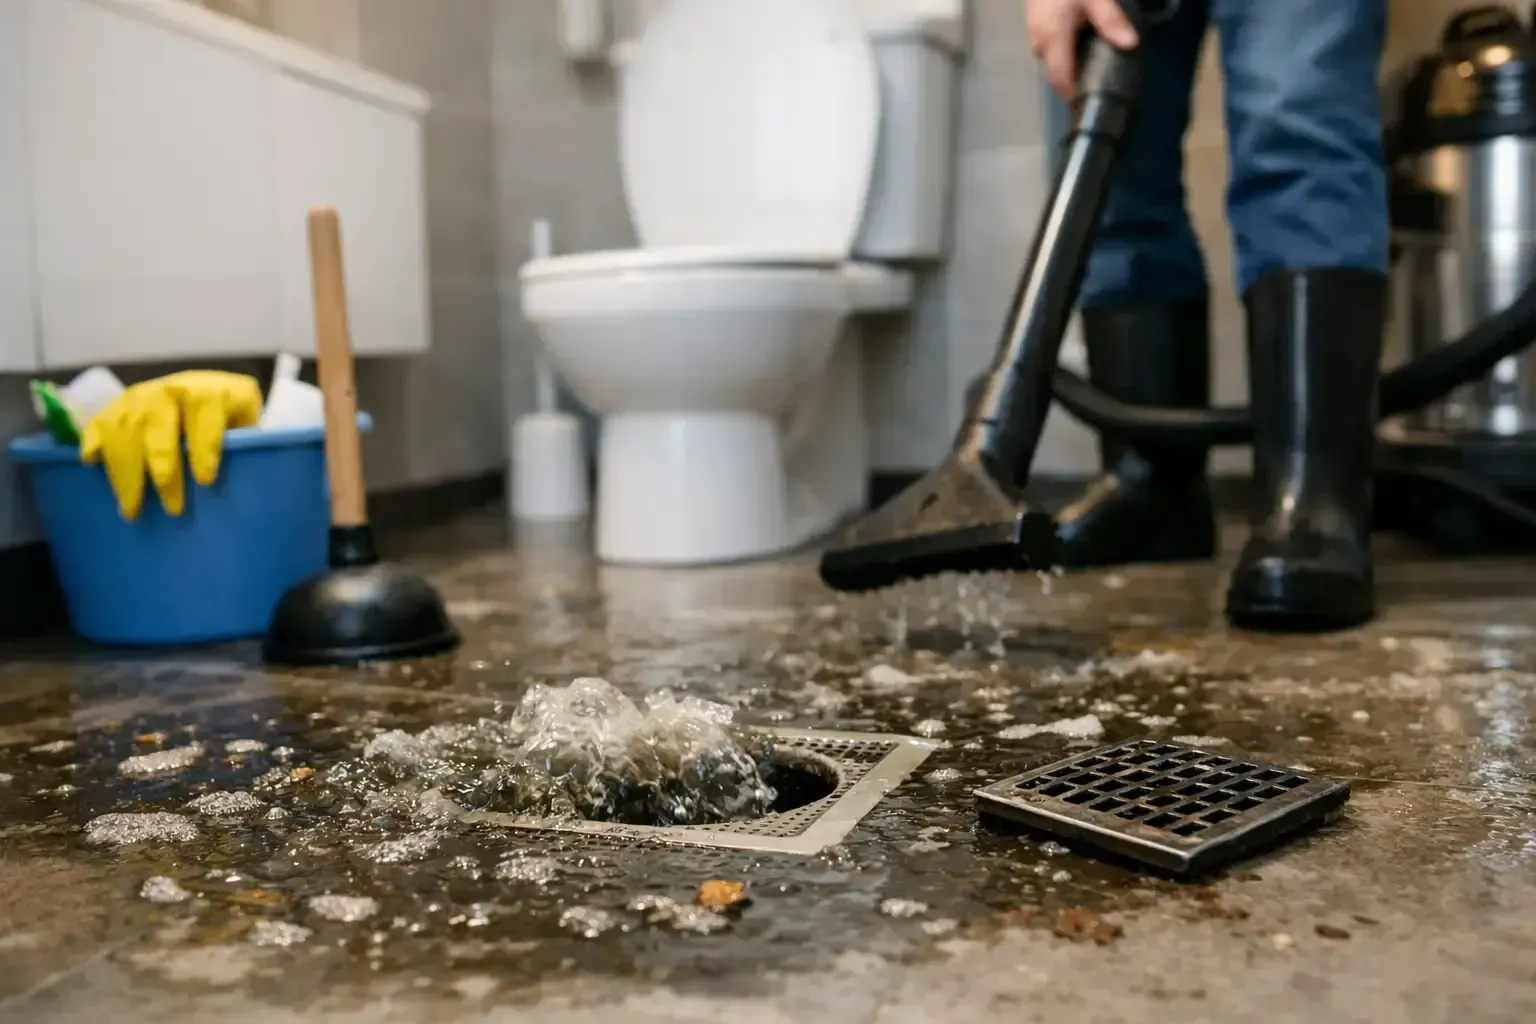
If you buy fans, tarps, plastic bins, contractor bags, or temporary lodging because the home is not safe to occupy, save every receipt. The same goes for emergency plumbing work, water extraction, board-up services, and moisture control. These costs may matter during your claim review.
Organize receipts in one folder, whether digital or physical. Take photos of paper receipts in case the ink fades. Add a short note about why each expense was necessary. A receipt by itself is helpful, but a receipt with context is stronger.
This is especially important when you are trying to prevent secondary damage. Insurance carriers generally expect property owners to take reasonable steps to limit further loss. Temporary protective measures can support that effort when they are documented well.
What to photograph before cleanup starts
If emergency mitigation crews are on the way, move quickly but stay organized. Before anything is removed, photograph standing water levels, wet contents, visible staining, peeling finishes, and any affected structural materials. Open cabinets and closets and document inside them if they were exposed.
If drywall is being cut, ask that a few pre-removal photos be taken first if you have not done it already. The same goes for flooring that will be lifted or cabinetry that may need to come out. Once demolition begins, your best evidence of the original condition is whatever you captured beforehand.
There is a balance here. You do not want to delay urgent drying just to create a perfect file. Wet materials in Florida can turn into a mold problem fast. Get enough documentation to show the damage clearly, then move into cleanup and professional mitigation.
How to document water damage for insurance adjusters
When an adjuster reviews your claim, clarity wins. Put your documentation in one place and organize it in this order: date discovered, cause if known, photos and videos, damaged item inventory, emergency actions taken, and receipts.
It also helps to label your files in plain language. Instead of leaving image names random, rename them something like “Kitchen ceiling stain north wall” or “Master bath leak under sink cabinet.” This makes the file easier to review and reduces back-and-forth later.
If you speak with your insurer by phone, keep a call log. Write down the date, time, representative name, claim number, and what was discussed. If you are told to take a certain step, note that too. Miscommunication is common during stressful claims, and written notes help prevent confusion.
Be factual in every conversation. Avoid exaggerating and avoid minimizing. If you are unsure whether water reached behind a wall or under a floor, say that moisture is suspected or that the area appeared affected. Let inspection tools and professional findings confirm the rest.
Common mistakes that weaken documentation
The biggest mistake is waiting. Water damage changes by the hour. Stains spread, materials dry unevenly, and damaged contents get moved around. If you delay until tomorrow, you may lose the clearest view of what happened today.
Another common problem is documenting only the worst area. Insurance and restoration professionals need the full picture, including adjoining rooms and less obvious damage paths. A single photo of a wet ceiling rarely tells the whole story.
Homeowners also sometimes clean too aggressively before taking evidence. It is fine to stop active damage and protect the property, but do not scrub, repaint, or throw out affected materials before they are documented unless there is an immediate health or safety issue.
And finally, do not rely only on text messages or memory. Keep copies of everything in one place. A basic digital folder can save a lot of stress later.
When professional documentation helps
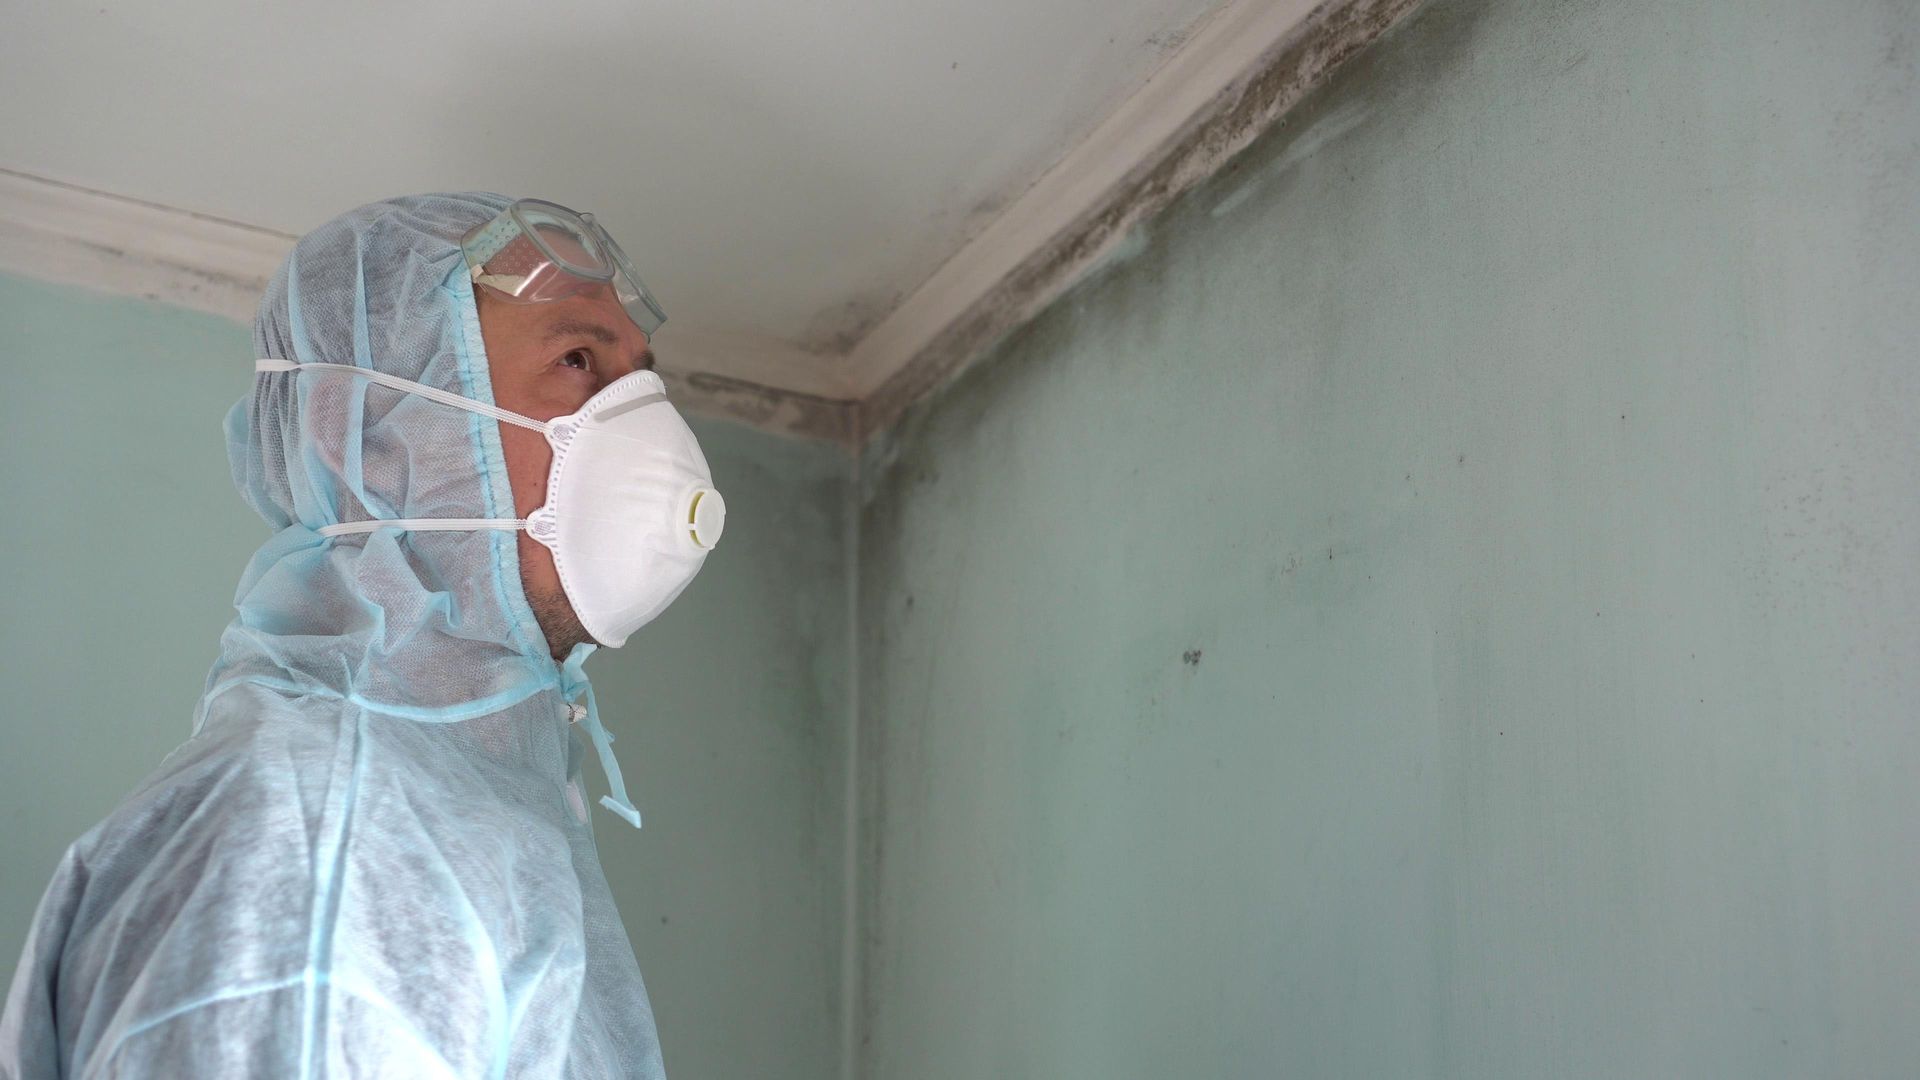
Not every loss is straightforward. If water affected multiple rooms, soaked floors, entered wall cavities, involved sewage, or sat for more than a short time, professional moisture mapping and damage assessment can make a real difference. Trained restoration teams document readings, affected materials, and drying conditions in a way that supports both the mitigation plan and the insurance process.
That matters because some damage is hidden. The ceiling stain may be minor, while the insulation above it is saturated. The tile floor may look fine, while the subfloor underneath is holding moisture. When the damage is larger than it first appears, better documentation helps explain why more work is needed.
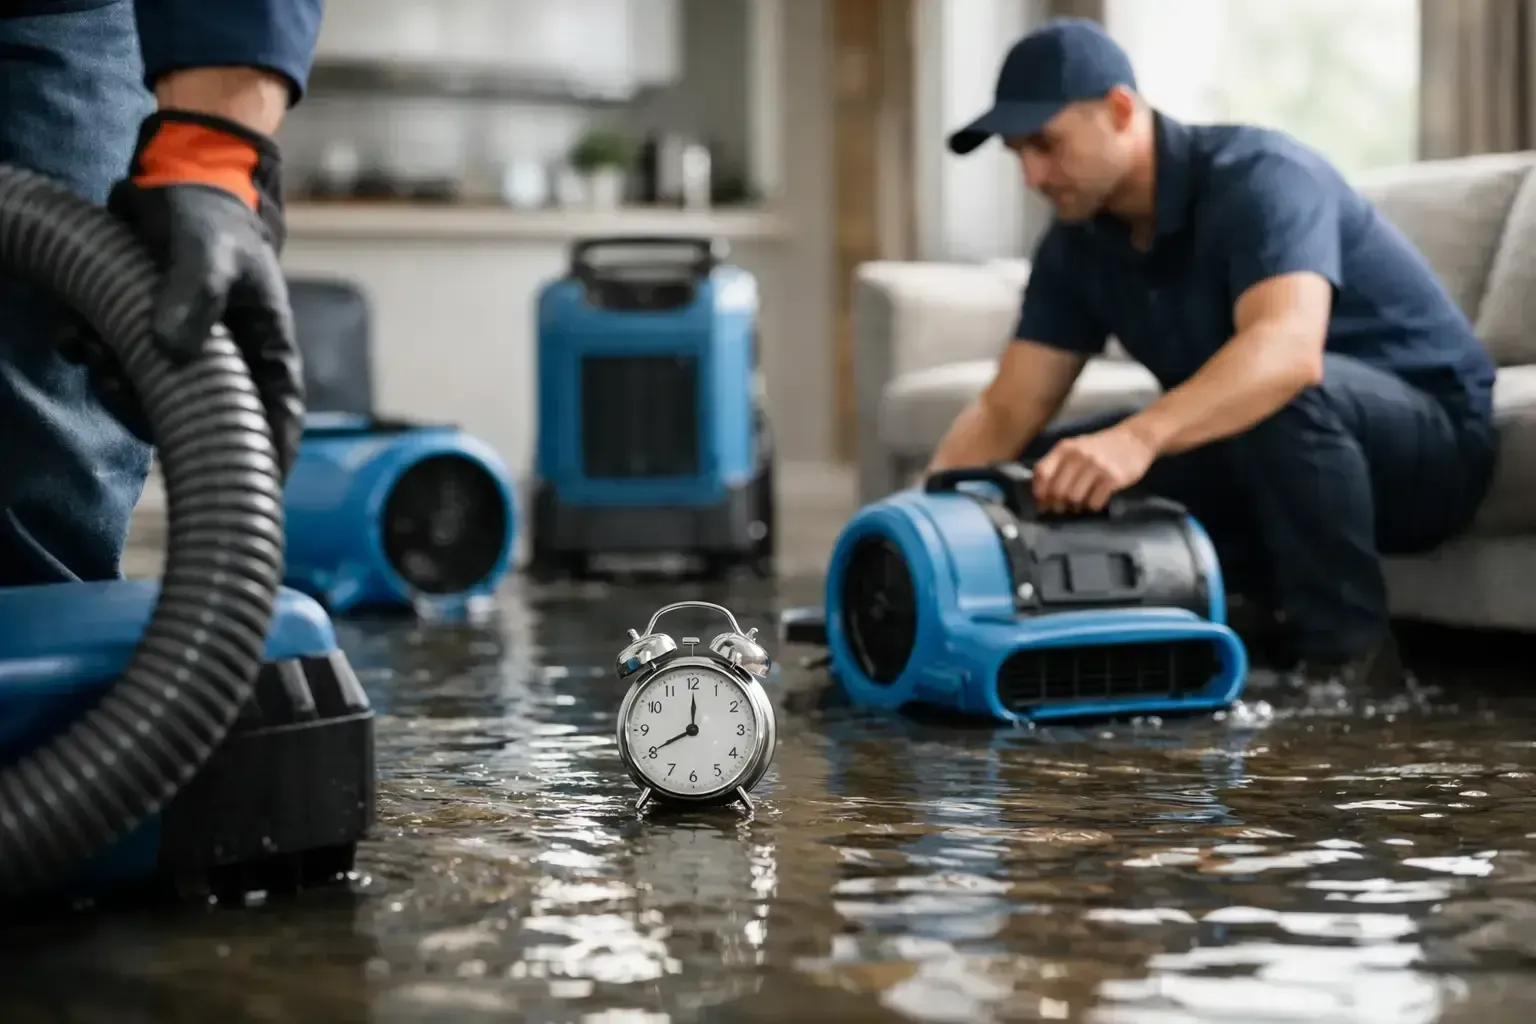
For many homeowners, this is the point where speed matters most. A fast-response team can help preserve evidence, begin drying, and reduce the chance that a water loss turns into a mold or structural issue. Companies like FloStop Restoration often work directly with insurance carriers, which can take some pressure off families already dealing with a major disruption.
Water damage is stressful enough without trying to reconstruct the story after the fact. Take clear photos, write down what happened, save damaged items when safe, and keep every receipt tied to the loss. A calm, organized record gives you a stronger starting point and helps the next steps move faster.
The post How to Document Water Damage for Claims first appeared on FloStop Restoration.